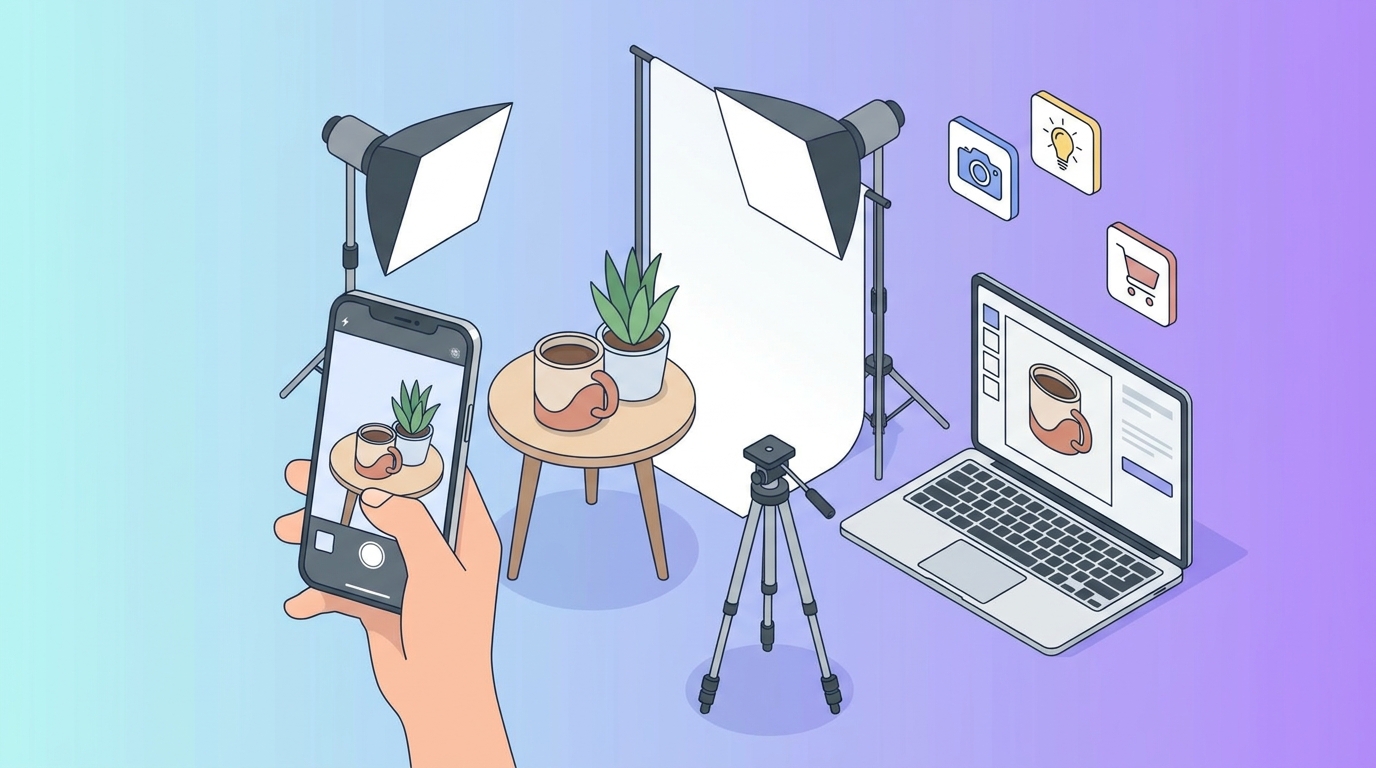
Your iPhone 15 Pro sitting on the desk has better specs than the $3,000 DSLR I bought five years ago. The difference between amateur product photos and professional ones isn't the gear anymore — it's knowing exactly which settings to tap and where to position that desk lamp.
Last week, I shot 47 product images for a jewelry client using nothing but an iPhone 14 and two $15 LED panels from Amazon. The photos outperformed her previous professional shoot by 23% in conversion rate. Here's exactly how to replicate those results.
iPhone Camera Settings That Actually Matter

Forget Auto mode. Open Settings > Camera and make these changes before you shoot anything:
ProRAW: Turn it ON. Yes, files jump from 3MB to 75MB, but you need that data for clean white backgrounds. You can compress later.
Grid: Enable it. Those nine squares aren't just guides — they're your alignment tool for consistent angles across product variants.
Preserve Settings: Toggle ON for Camera Mode and Exposure Adjustment. Nothing worse than iPhone reverting to Portrait mode mid-shoot.
Inside the Camera app itself, tap the arrow at the top and adjust:
- Exposure: -0.3 to -0.7 (prevents blown-out whites)
- Focus Lock: Tap and hold on your product until "AE/AF LOCK" appears
- 2x lens: Use it. The telephoto lens minimizes distortion better than digital zoom
The $50 Lighting Setup That Beats Natural Light
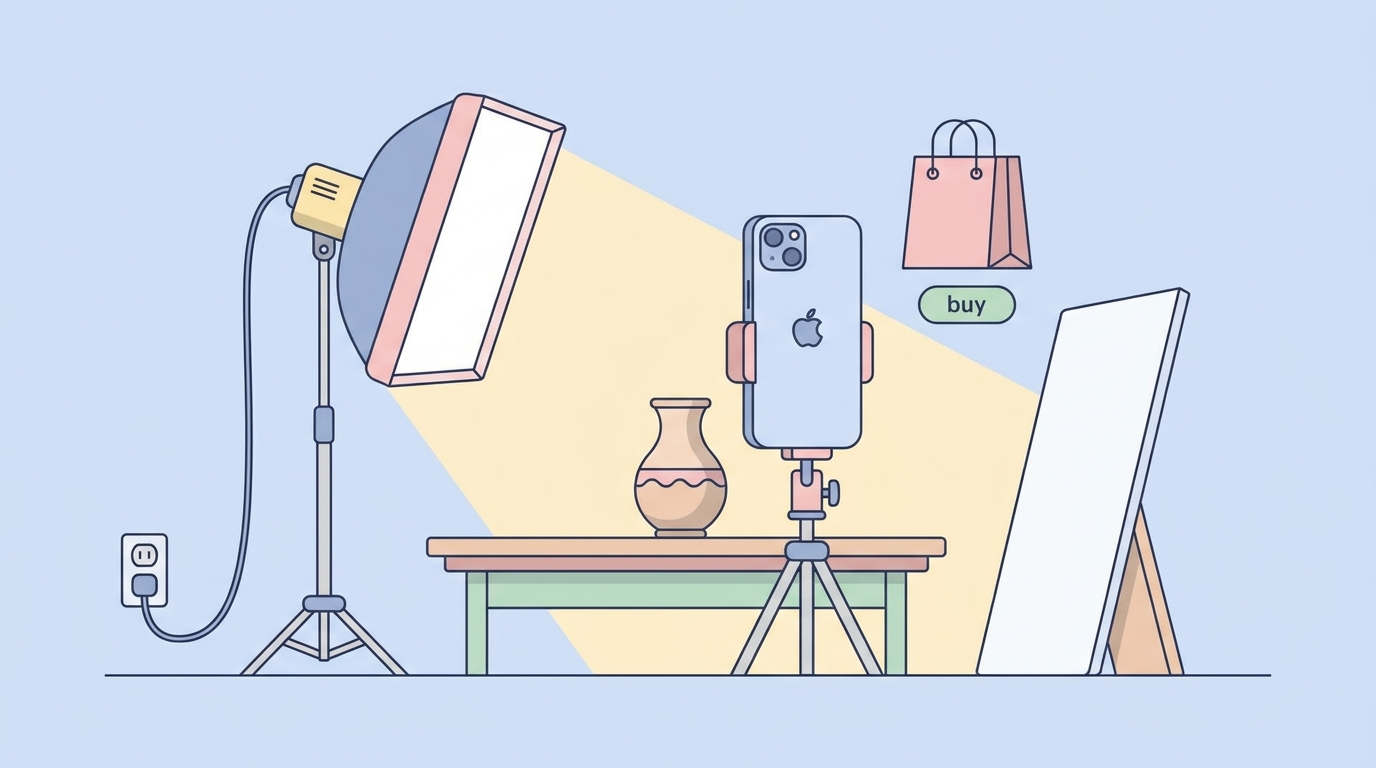
Natural light sounds romantic until clouds roll in halfway through shooting 30 SKUs. Here's the setup that works every time:
Main light: VILTROX L116T LED panel ($35 on Amazon)
- Position: 45 degrees to the left, 18 inches from product
- Settings: 5600K temperature, 75% brightness
- Why: Creates dimension without harsh shadows
Fill light: Any desk lamp with white LED bulb
- Position: Opposite side, further away
- Purpose: Softens shadows from main light
- Pro move: Tape white printer paper over it for diffusion
Background: White poster board curved against wall
- Size: 22" x 28" minimum for small products
- Curve: No crease visible — tape top edge 12 inches up the wall
- Distance: Product 8-10 inches from background to avoid shadows
Composition Rules That Increase Click-Through Rate

Amazon's internal data shows hero images with products filling 85% of the frame get 12% higher CTR. Here's how to nail it:
The 85% Rule in Practice
Open your iPhone camera and imagine the frame divided into 10 horizontal lines. Your product should span from line 1 to line 8.5. Too small and it looks lost. Too large and edges get clipped on mobile.
Angle Hierarchy
Shoot these angles in order:
- Hero shot: Straight on, product centered
- 45-degree: Shows depth and side details
- Top-down: Reveals patterns or set contents
- Detail shots: Move to 0.5x for texture close-ups
- Lifestyle: Product in use (different lighting rules apply)
The Reflection Trick
Place products on black acrylic sheets ($12 at craft stores) for that premium reflection effect. Wipe with microfiber between shots — fingerprints show up like crazy in photos.
Shooting Different Product Categories
Jewelry
- Challenge: Reflections and tiny details
- Solution: Macro mode (flower icon) + ring light attachment
- Settings: 1x lens, -1.0 exposure, tap to focus on stone/detail
- Pro tip: Blu-tack or museum wax for invisible support
Clothing
- Challenge: Wrinkles and shape
- Solution: Invisible mannequin or flat lay with strategic stuffing
- Settings: 2x lens from further back, grid for symmetry
- Must-have: Steamer ($30) saves hours in post-editing
Electronics
- Challenge: Screen glare and fingerprints
- Solution: Polarizing filter ($15) + microfiber pre-wipe
- Settings: -0.7 exposure, manual focus on logo/buttons
- Angle tip: Slight tilt prevents ceiling light reflections
The Edit That Sells: Apps and Workflow
Skip expensive desktop software. These three apps handle everything:
Snapseed (Free)
White background perfection:
- Tools > Tune Image > Highlights +100
- Tools > Brush > Exposure +0.5 > Paint background only
- Tools > Healing > Remove dust spots
- Export at 100% quality
Adobe Lightroom Mobile (Free version works)
Color accuracy:
- Light > Exposure +0.3
- Color > Vibrance +15 (products pop without looking fake)
- Effects > Clarity +25 (sharpens without halos)
- Optics > Remove Chromatic Aberration (fixes color fringing)
Background Eraser (Free with ads)
For transparent PNGs:
- Auto mode > Tolerance 20-30%
- Manual cleanup with zoom
- Export as PNG
- Alternative: remove background instantly with AI
Platform-Specific Requirements
Amazon
- Main image: Pure white background (RGB 255,255,255)
- Size: 1600px minimum, 2000px preferred
- Aspect ratio: 1:1 square
- File format: JPEG under 10MB
- Zoom capability: Original must be large enough for zoom function
Check our complete Amazon photography requirements guide for recent policy updates.
Etsy
- Main image: Can have props/lifestyle
- Size: 2000px minimum width
- Aspect ratio: 4:3 or 5:4 performs best
- File format: JPEG or PNG
- Mobile optimization: Test how it looks at 150px thumbnail size
Shopify
- Size: 2048px square for zoom
- Format: JPEG for photos, PNG for graphics
- Naming: product-name-angle.jpg for SEO
- Compression: Use TinyPNG before uploading
Advanced Techniques from Fashion Photographers
The Invisible Support System
Fishing line (0.2mm clear) revolutionizes product positioning. Tape it to ceiling or backdrop stand to:
- "Float" jewelry at perfect angles
- Hold bag straps in appealing curves
- Position sunglasses at dynamic angles
Cost: $5. Impact on perceived quality: Massive.
The Window Hack
Sheer white curtain + sunny window = perfect diffused light. Position:
- Product 3 feet from window
- White board opposite as reflector
- Shoot parallel to window, never into it
This works until 3 PM on north-facing windows, all day on east/west.
The Color Theory Adjustment
Products photograph 10-15% darker than they appear. Compensate by:
- Overexposing by +0.3 to +0.5
- Boosting shadows in post
- Using reference gray card ($8) for color accuracy
Common iPhone Photography Mistakes
Using flash: iPhone flash creates harsh shadows and color shifts. Those two LED panels give better, consistent results.
Digital zoom beyond 3x: Quality degrades fast. Move physically closer or crop in post.
Ignoring focus peaking: Tap and hold to lock focus. Blurry products don't sell.
Shooting HEIC format: Switch to Most Compatible (JPEG) in Settings. Some platforms still struggle with HEIC.
Forgetting to clean the lens: Fingerprints create hazy images. Wipe with microfiber before every session.
Testing What Converts
Track these metrics after implementing new photography:
- CTR change: Better photos typically boost by 15-25%
- Conversion rate: Professional-looking images add 1-2% minimum
- Return rate: Clear, accurate photos reduce returns by up to 30%
Split test different main images using platform tools or monitor your listing health to track performance changes.
Quick Reference Checklist
Before every shoot:
- Clean iPhone lens
- Set camera to ProRAW
- Position lights at 45-degree angles
- Curve white background seamlessly
- Lock exposure at -0.3 to -0.7
- Shoot at 2x for minimal distortion
- Take 5-7 angles per product
- Edit in Snapseed/Lightroom
- Export at platform specifications
- Name files descriptively
Your iPhone already has the hardware. These techniques transform it into a legitimate product photography studio. Start with the lighting setup — it makes the biggest immediate impact on image quality.
Need to process multiple product images quickly? Try our AI photo studio to enhance and standardize your iPhone shots, or explore our free seller tools for more ways to optimize your listings.
The best camera is the one in your pocket. Now you know how to use it like a pro.